Build your first React Native App today.
May 03, 2023
While starting with React Native, every new developer faces a significant challenge in the environment setup. Sometimes developers have to spend hours if not days trying to set up React Native in their local machine before starting development. What if I told you that none of this is required, and you can code your React native application without using Xcode or Android Studio?
Here comes the ultimate time saver in the picture, Expo. Expo CLI is a shortcut/ quick alternative to starting with React Native without the usual hassle of setting up your development environment for the standard React Native CLI.
For people who are somewhat familiar with React Native and the mobile space, you might wonder if Expo has been around for quite a long time now; why do we talk about it now? The answer is simple, Expo has made some great strides in the last few years, and right now, it might be even simpler to maintain and manage than the vanilla React Native CLI.
You would require a basic package installer like node or yarn to get started, we will be using node v16.19.0 for this example, but you can install with yarn as well.
Step 1: Create an Expo app.
You must run the following command to get started with an Expo app.
npx create-expo-app MyFirstRNProject
You can also create the app with the typescript template by passing -t .
npx create-expo-app -t MyFirstRNProject


Once the project has been installed, you can use your choice of IDE to browse through the project structure and files. We will be using Visual Studio code for this example.
Note: During this process, you might be asked to install Xcode command line tools. You can let the OS install it or manually download and install it from https://developer.apple.com/download/all.
Step 2: Running your Expo app on your machine.
Once you open the project folder in your choice of IDE, you will be greeted with the following folder structure.
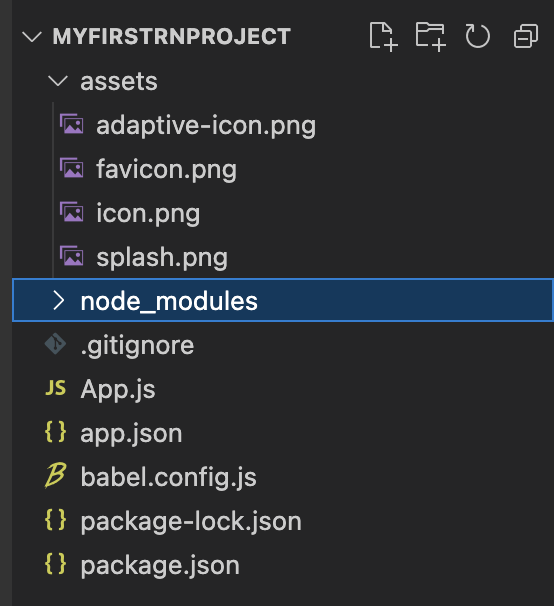
For now, consider only two files important when we get started. App.js and app.json. App.js is your root file which will be accessed when running the application, and app.json acts like a config file that helps you configure native things for iOS and Android separately.
Now, let's run the app locally. Run the command
npx expo start
You would now be greeted with a screen like this.
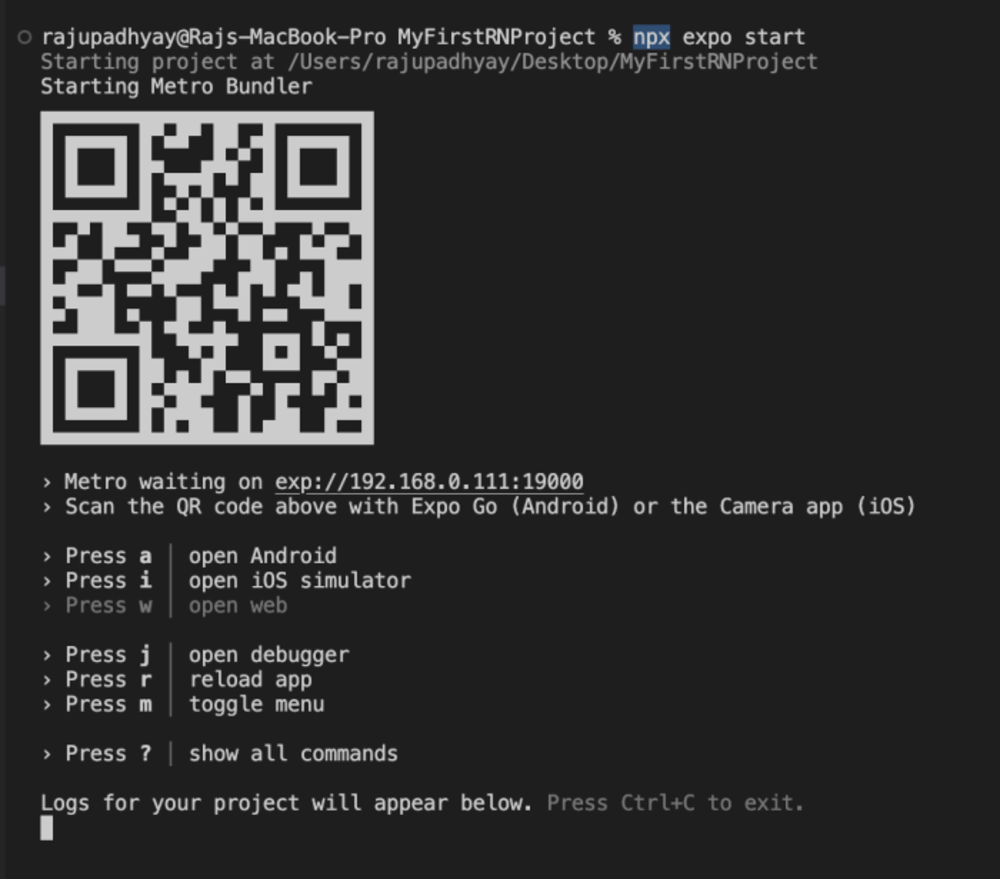
As the commands suggest, we can run the application on three different platforms, i.e., Android, iOS, and the Web. For running on Android or iOS simulators, we need to install Xcode and Android Studio. Worry not, as these dependencies are optional, as we can instead run our expo application on any web browser or our actual mobile devices.
First, let's try running our app on a web browser. We try hitting the key W as suggested by the Expo CLI. We are greeted with the following message.

Now let's try to install these dependencies. Close the expo server, run the following command, and restart the server.
npx expo install react-native-web@~0.18.10 react-dom@18.2.0 @expo/webpack-config
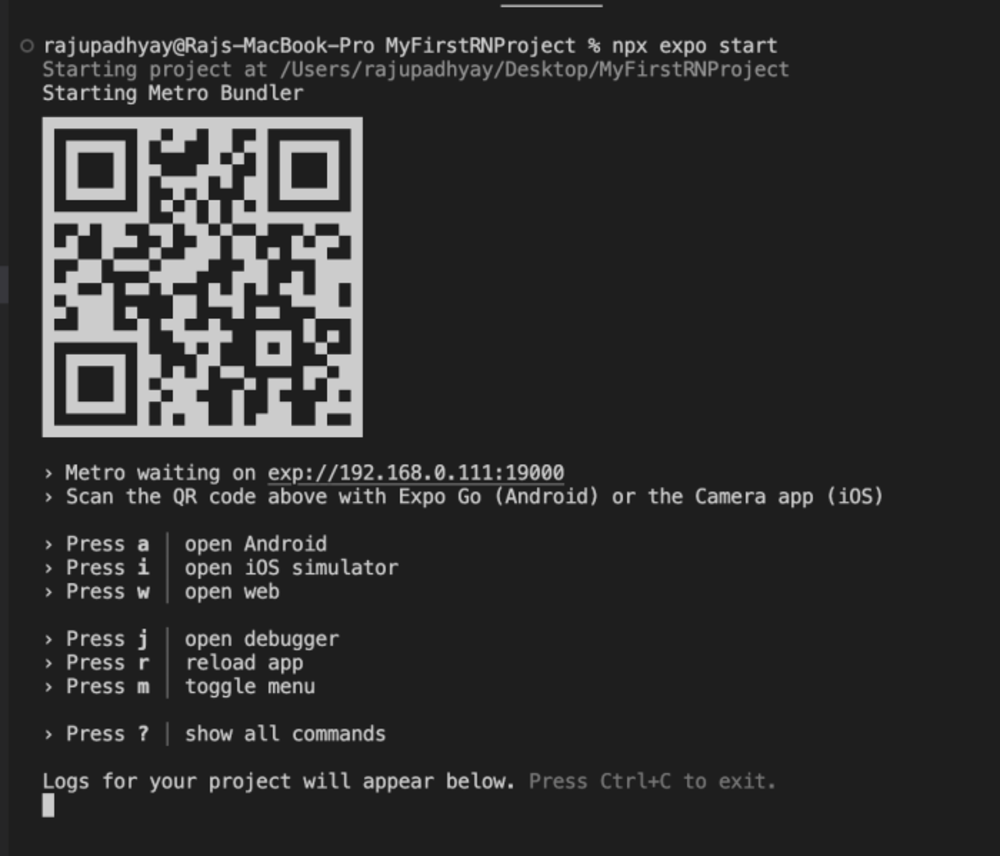
As you can see, the web option is not disabled anymore. Let's try running the application now by pressing W.
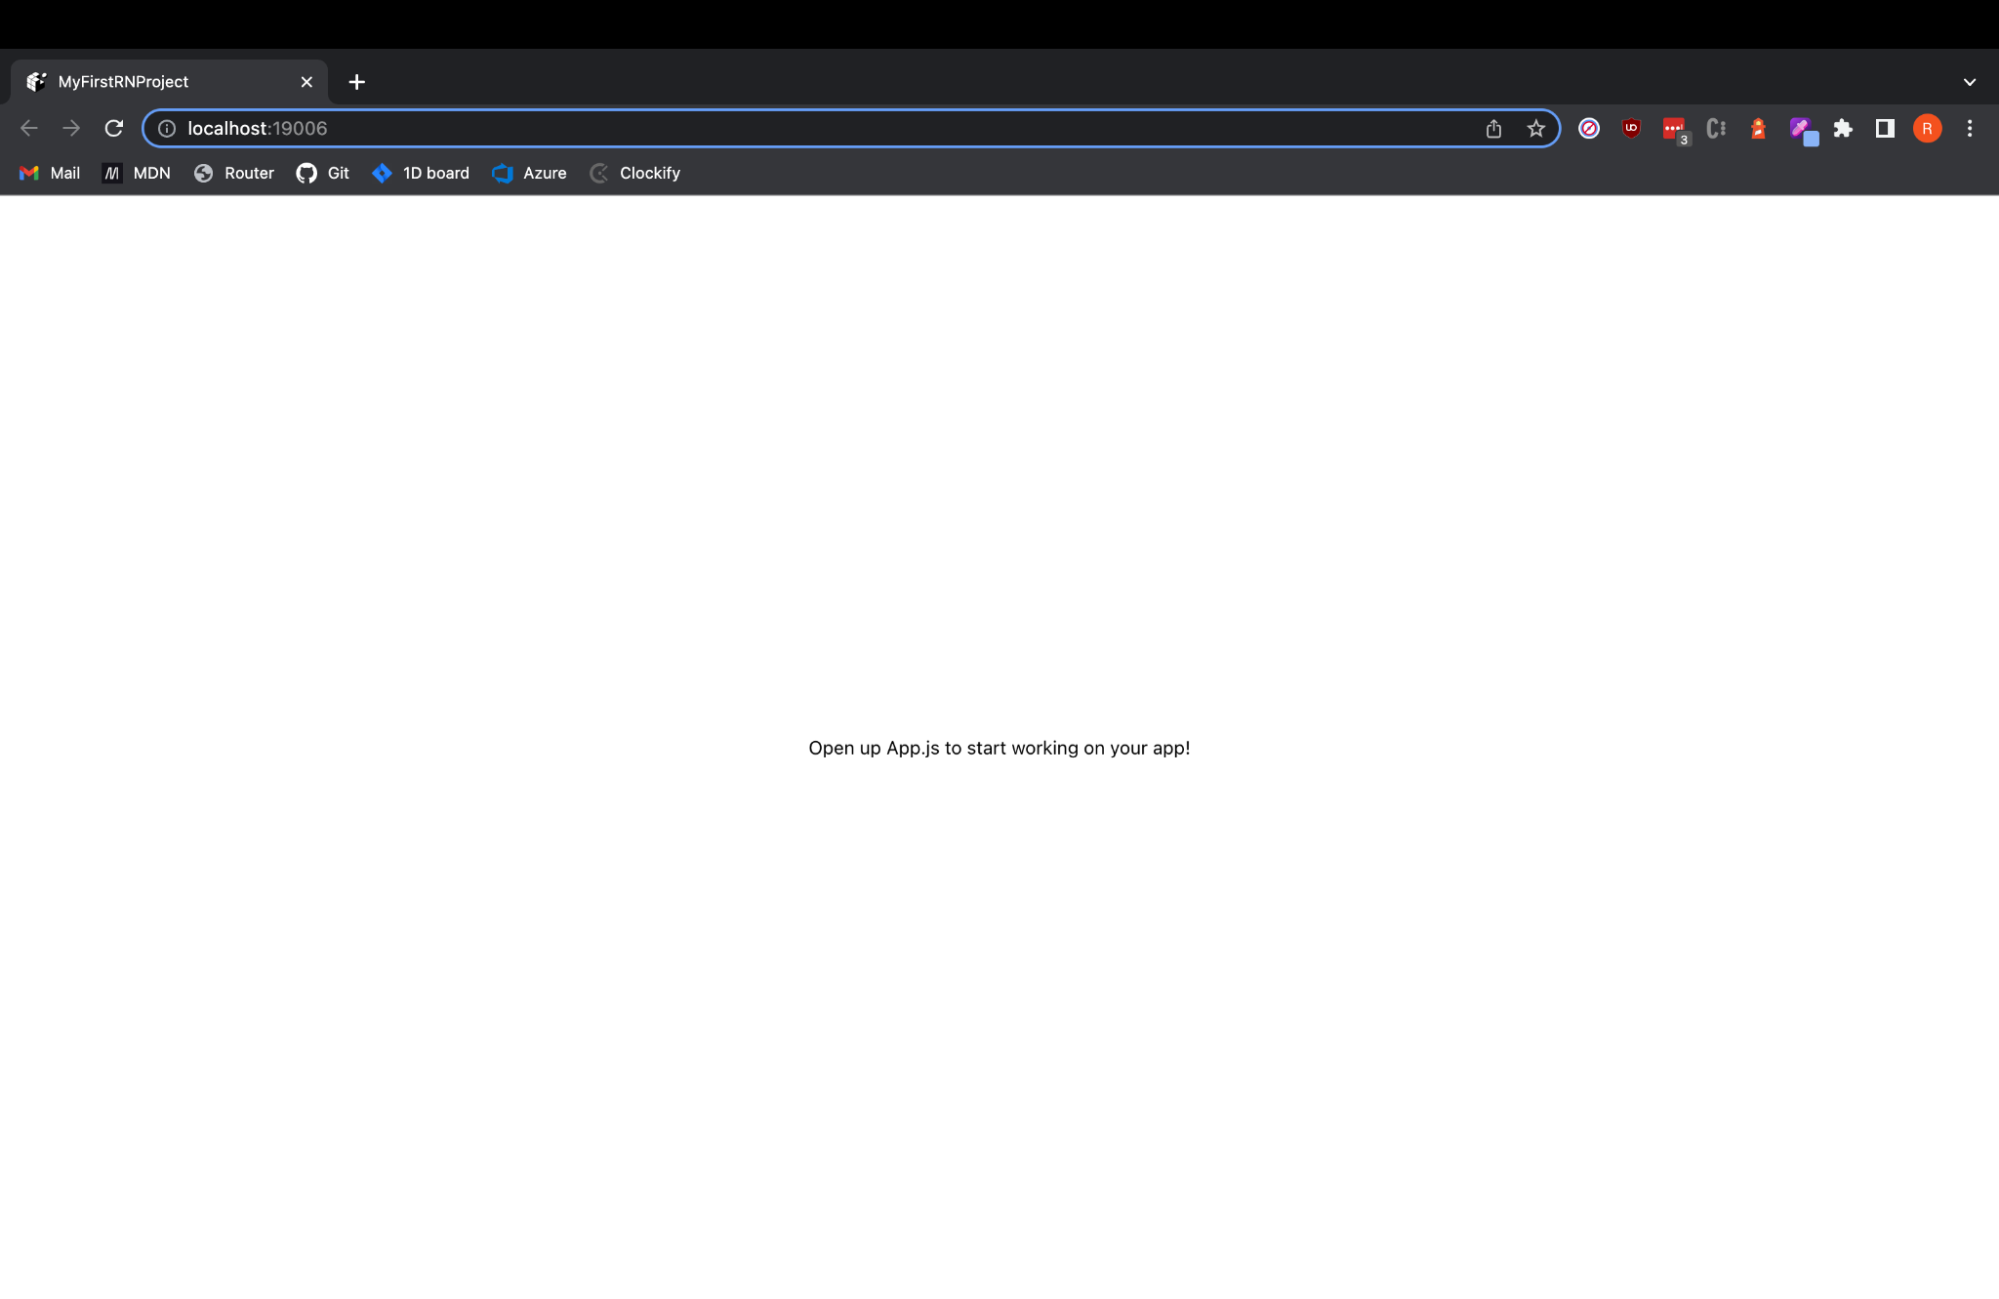
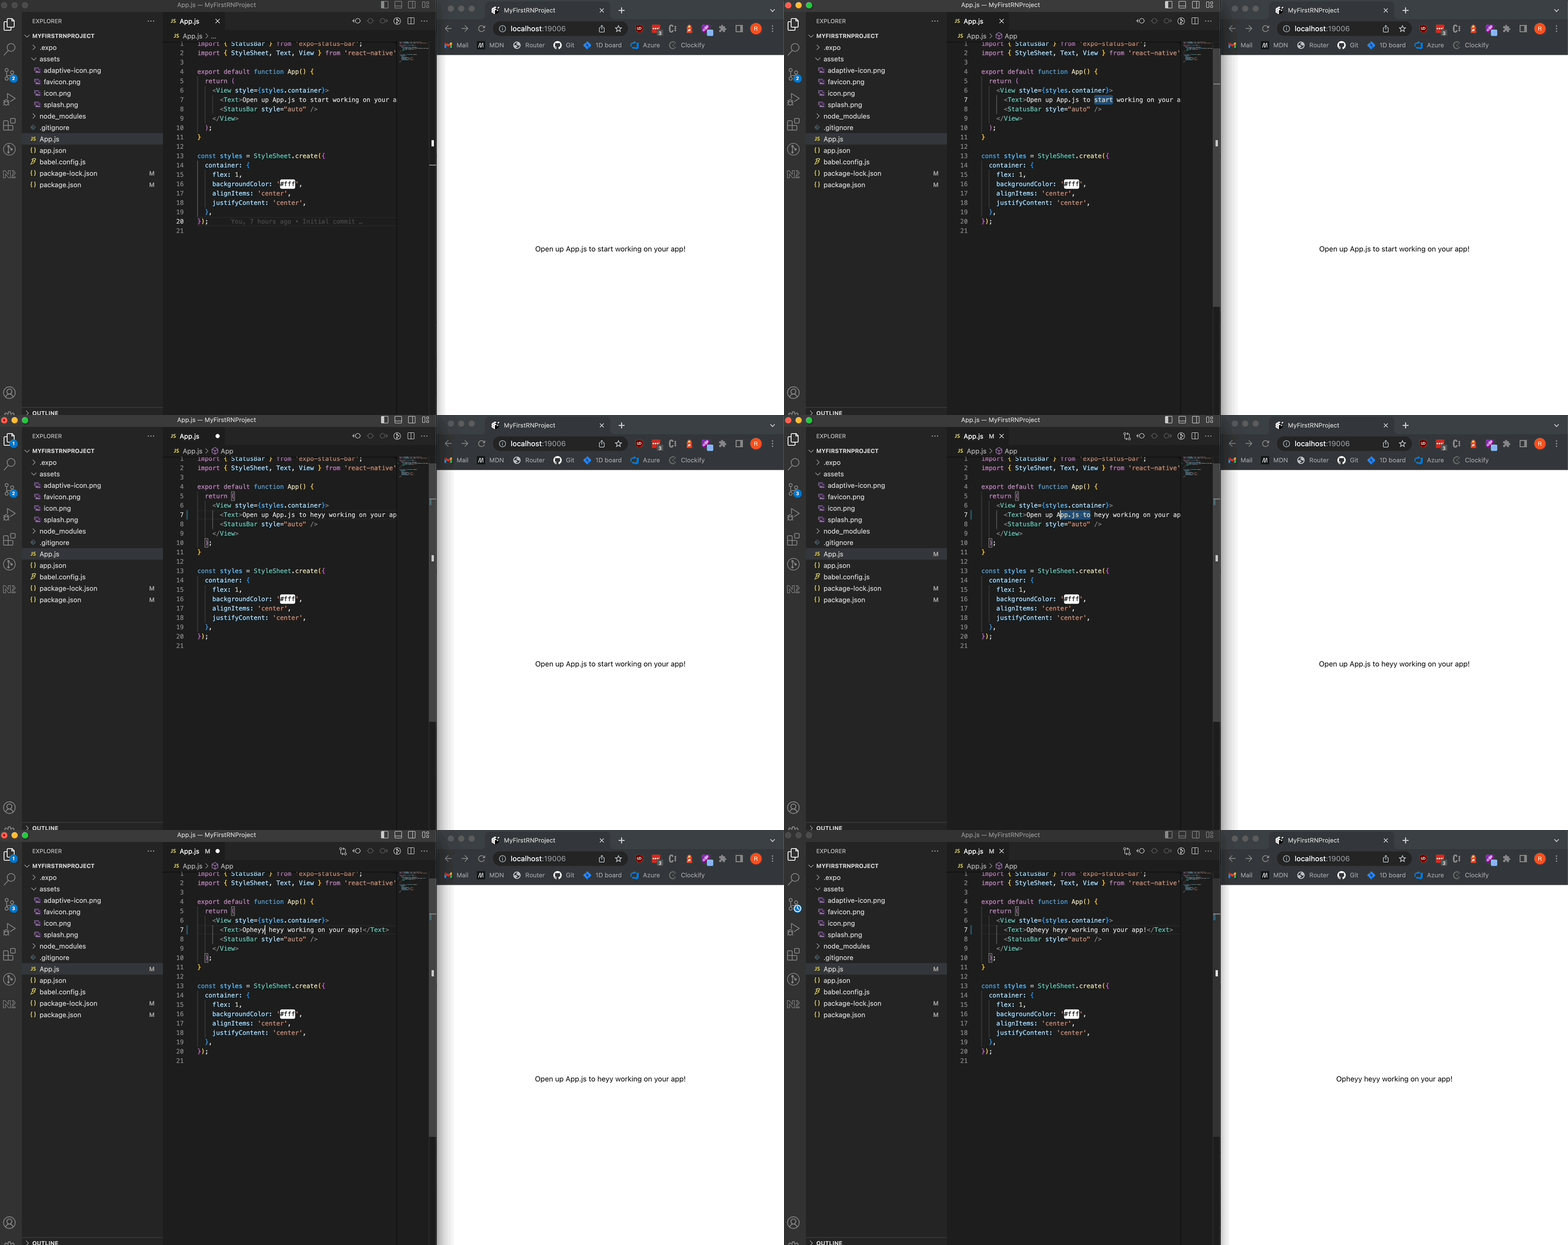
Viola!! And that’s it. You have your first-ever React native app up and running. You can make changes to your App.js file as Expo supports fast refresh, and you can see your changes as fast as Flash.
That’s it, folks. Thanks for reading through this blog. Just kidding, It’s not React Native until we run it on a mobile device.
Step 3: Running the application on a Mobile device.
Since we are not planning to use Xcode or Android studio simulators to run apps, we can install the Expo Go App to run it directly on our physical devices ( both Android and iOS ). We will see the application's process on iOS, but running on Android should be the same. First, pull up the QR code generated by Expo on the terminal.

Now open the camera app on your iPhone and scan this QR code.
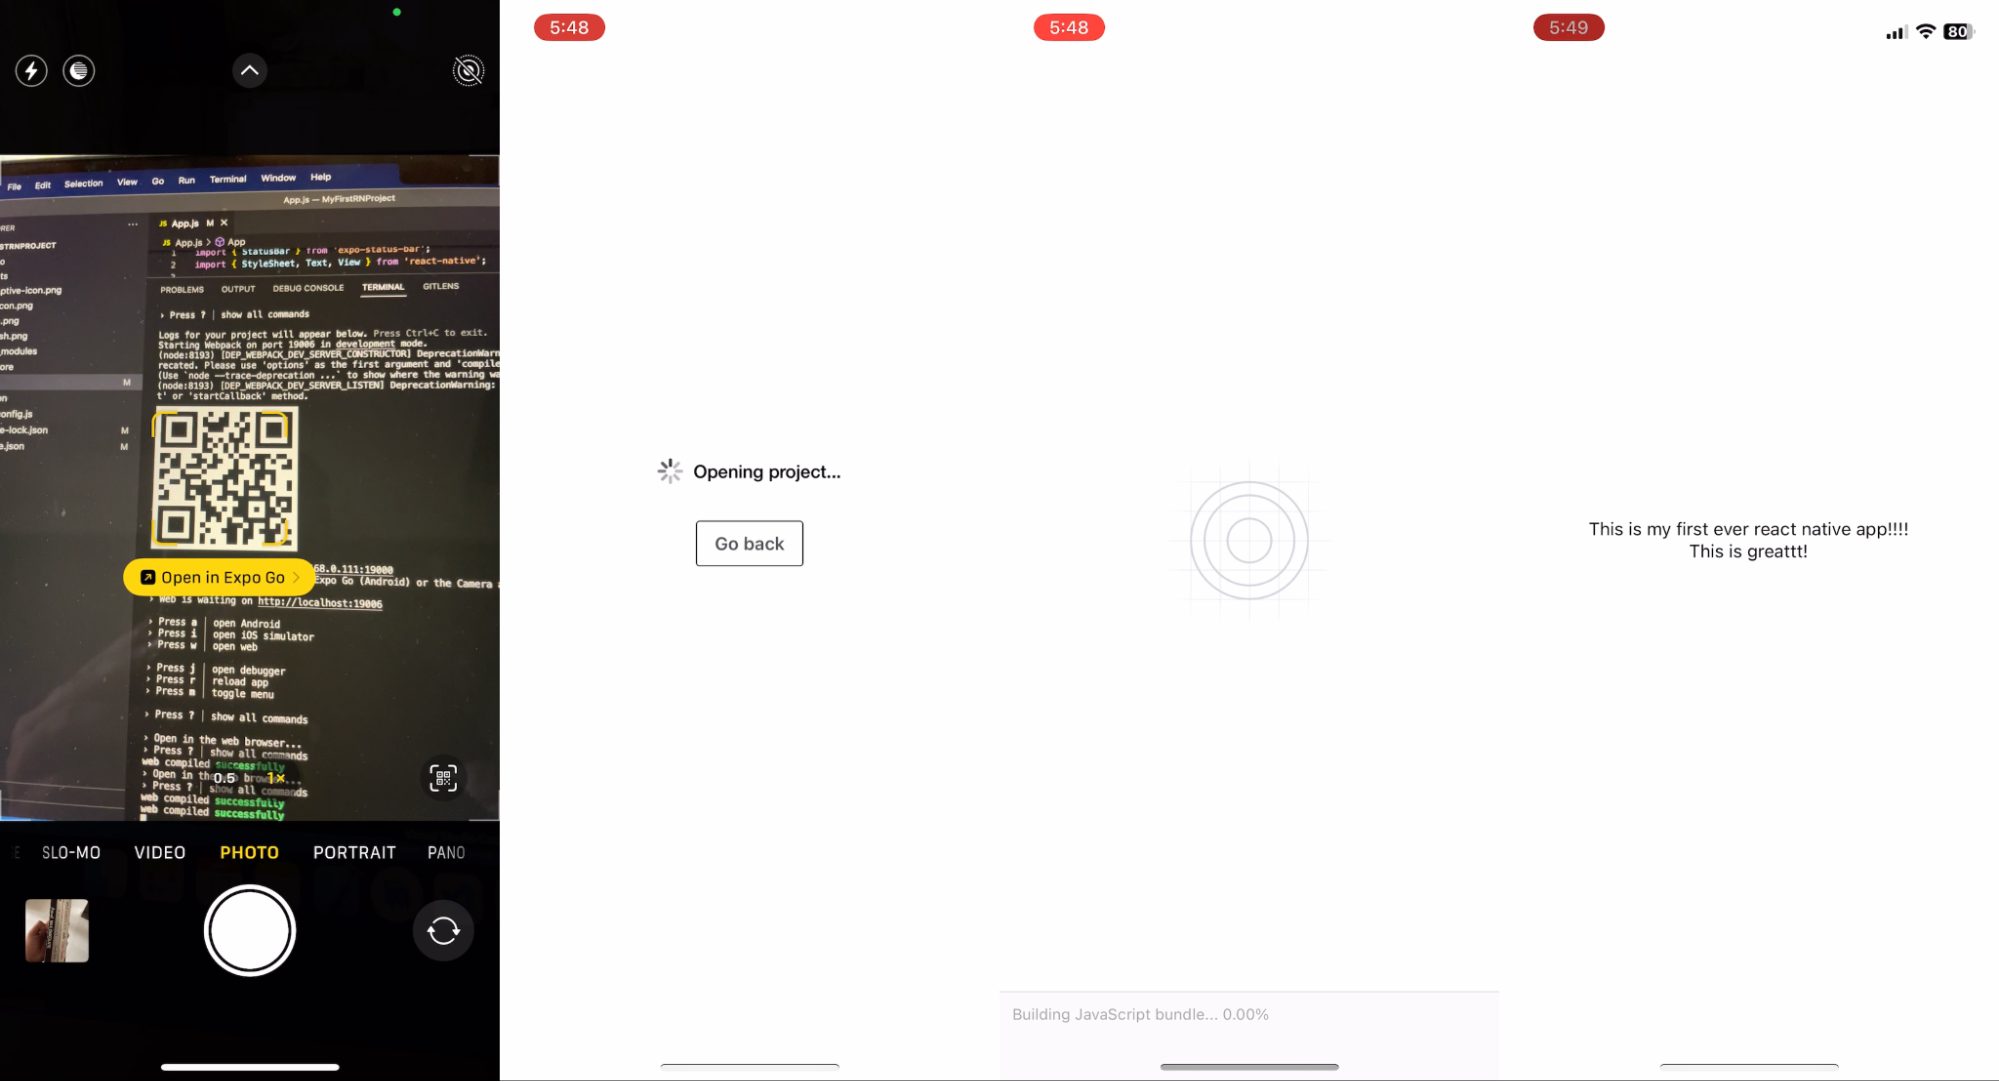
That’s it; you can now run your expo app on both web and mobile devices with the minimum possible time.
Conclusion:
As we can see through this process, starting with react native is less intimidating than people make it out to be. Getting started with Expo CLI is an excellent way for newcomers to start with React native, not only for newcomers but for smaller scale projects which do not require a lot of native coding and hugely benefit from being built solely on Expo.
Expo's flexibility to run it on practically any mobile device without setting up Xcode or Android Studio is a big game changer in the future of React Native.
Apart from these, the expo provides many standalone features, making the development process way more uncomplicated for the developers.

